If you’re reading our today’s article, chances are you were one of those fans of old-school games looking forward to Nintendo’s re-release of its cult Super Nintendo Entertainment System back in 2017.
And though the new console could set your back a couple of hundred dollars, you didn’t waste a minute hesitating and made the coveted purchase. The only thing that could cloud your euphoria was the fact that the SNES Classic Mini came with quite a modest number of games. If you still haven’t figured the way to fix the disappointing situation, it’s about time you learned how to add more games to the preloaded collection of SNES games.
All you need to do is put your hands on the Hakchi 2 utility and download your favourite SNES ROMs from dedicated websites. For more details, go on reading.
A Few Words about SNES ROMs and How to Get Them
Before adding new games to your SNES Classic, you want to know more about ROM files which help lots of classic gamers get the most out of their gaming experience.
You’ve probably heard about emulators, dedicated programs that mimic the work of retro consoles and allow you to play classic titles on your PC or mobile device. And the games for such emulators come in the form of ROMs, the files containing the copy of the original SNES games.
You can’t do without such ROM files, if you want to replenish your game collection to play on your SNES Classic Mini. There are thousands of websites that offer SNES and other ROMs for download. But only the most reputable and time-tested abandonware resources can help you enjoy your retro gaming to the full extent. Download SNES ROMs from the best retro gaming website and make them part of your current SNES Classic collection. And there is one thing you should do! Locate the website offering Hakchi 2 for download.
Now you’re all set to start adding new games to your console!
Adding Games to SNES Classic
To add new games to your console, connect it to the PC with a USA cable. Make sure to turn your SNESS Classic off before doing that.
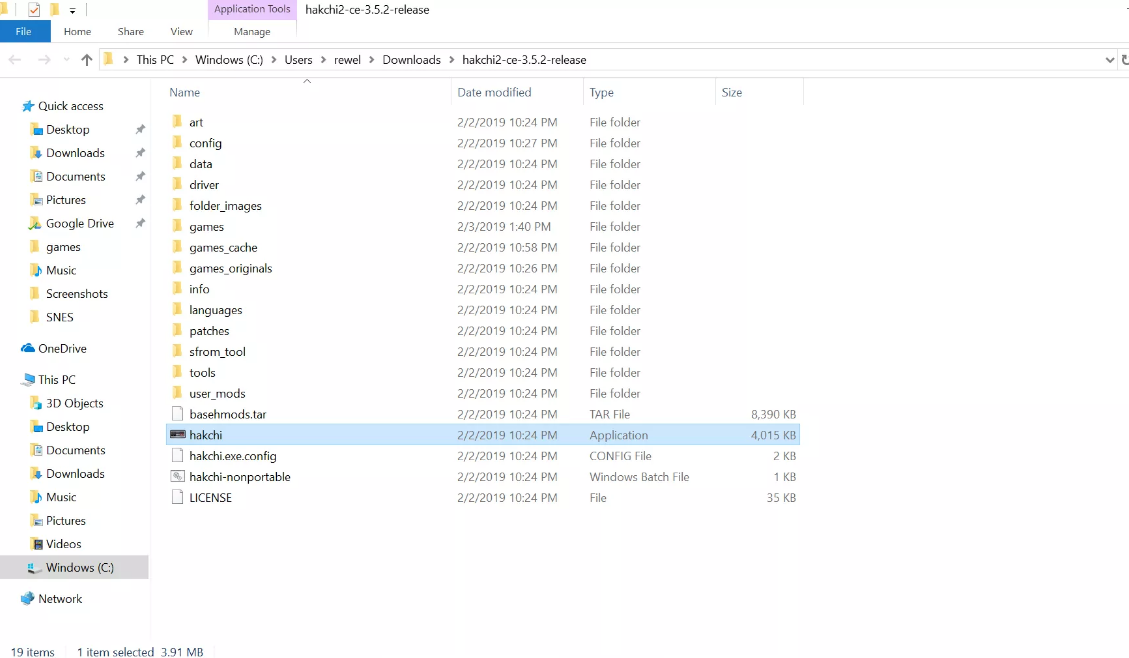
Now download Hakchi from the chosen website. So far, Hakchi 2 is the best solution you can think of when it comes to importing unofficial games to video game consoles. You’ll be better off if you use the latest version of this program, of course. Also, note that the program comes in a zipped archive, meaning you need to use any unarchiver installed on your PC to extract the files to the folder.
- If the program asks for additional files, be sure to download them to ensure its proper operation. Don’t forget to restart your computer after that.
Launch Hakchi 2 by clicking it.

Select SNES (USA/Europe) and click the “Add more games” option.
Now you should select the games you want to appear on the list of the playable games in your SNESS Classic. For this, navigate to your ROMs folder and right-click the ROMs you want to add.
Then, head to the Custom Game list and click the ROMs you’ve added.

Once you’re ready, proceed to select kernels. To do it, click the “Kernel” tab in the right-hand corner of the window and select “Install / Repair.” To start flashing the custom kernel, click “Yes.”

- When adding games, you may find yourself needing additional drivers. Make sure to install the requested drivers manually to proceed with adding your SNES ROMs.
When you’re done flashing your kernels, sync them with your SNES Classic. Click “Yes” to confirm.

After having your games transferred, turn off the console and disconnect it from your computer.
You want to immediately try out the newly added games. To do it, turn on your console again and navigate to the “New Games” folder. Assuming you’ve done everything correctly, you’ll find the new titles in this folder.
Once you get bored with the new games, you can add some more. All you need to do is reconnect your SNES Classic to the computer and select the “Synchronize selected games with SNES Mini” option. Upon doing so, you’ll be able to play fresh titles without the need for flashing kernels again.
